Windows est faible, tout le monde le sait. Un mot de passe de session Windows n’est qu’une barrière physique visant à décourager les pirates lambdas. Mais il est tellement simple d’accéder à une session Windows protégée par mot de passe 
La preuve dans la suite.
Ce tutoriel a un but instructif. Fotozik ne pourra être tenu pour responsable de vos quelconques actes malveillants.
Ce hack fonctionne pour toutes les versions de Windows 2000 à Windows 7.
Il vous faudra:
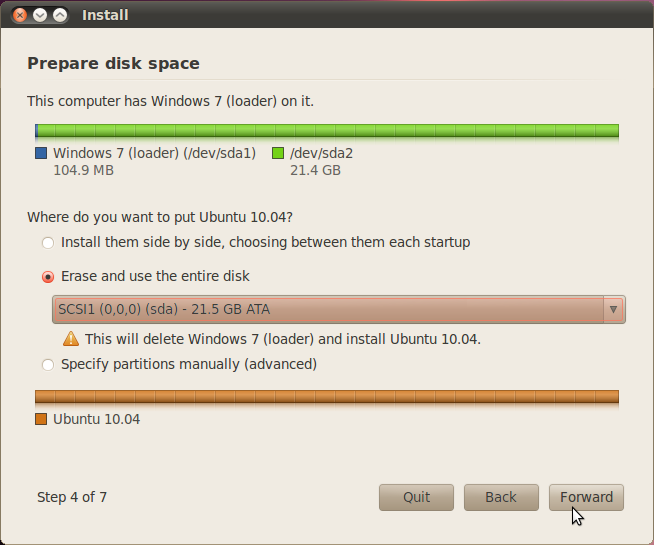
- un Live CD ubuntu (9.10 de préférence)
- le paquet chntpw (http://packages.ubuntu.com/lucid/chntpw)
- un Live CD ubuntu (9.10 de préférence)
- le paquet chntpw (http://packages.ubuntu.com/lucid/chntpw)
C’est tout, je peux accéder à n’importe quel ordinateur Windows avec ça? Oui, c’est tout.
Etape 1:
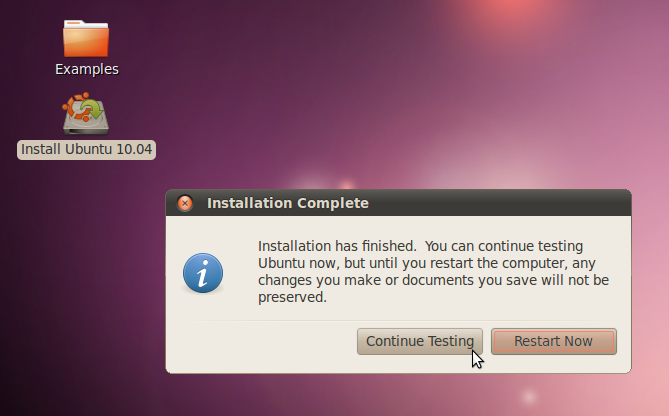
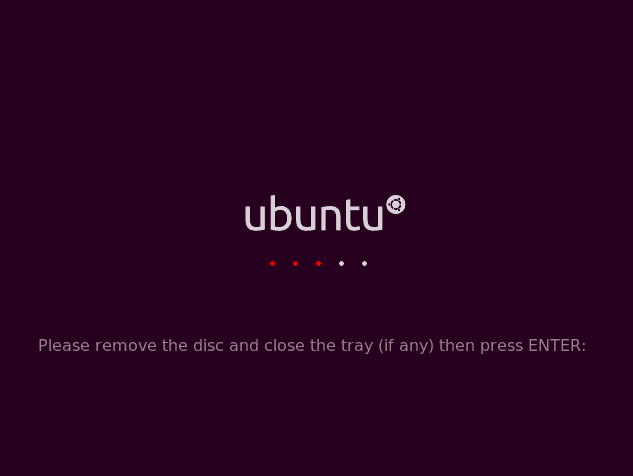
démarrez le Live CD Ubuntu (il suffit la plupart du temps d’allumer l’ordinateur avec le cd à l’intérieur).
Etape 2:
installez le paquet chntpw. Soit vous l’avez sur une clé usb et vous double-cliquez dessus, soit vous le téléchargez depuis l’adresse http://packages.ubuntu.com/lucid/chntpw et vous double-cliquez dessus.
Etape 3:
montez le disque Windows. Pour cela, cliquez sur Raccourcis dans le menu du haut, puis sur le disque correspondant à votre partition/disque Windows (cherchez celui qui a la même taille).

Etape 4:
notez l’étiquette de votre disque dur. Dans la fenêtre qui s’ouvre, la barre de titre contient quelque chose du genre AC24FEB56EFA31EC.

Etape 5:
ouvrez un terminal (Applications->Accessoires->Terminal)
Etape 6 (la plus délicate):
tapez
cd /media//WINDOWS/system32/config/
Par exemple
cd /media/AC24FEB56EFA31EC/WINDOWS/system32/config/

Tapez ensuite
sudo chntpw SAM
A vous de choisir maintenant ce que vous voulez faire, 1 pour effacer le mot de passe, 2 pour le modifier, 3 pour donner le rôle d’administrateur à un utilisateur. Validez ensuite avec la touche y.
Vous pouvez aussi choisir de modifier un autre mot de passe que celui de l’administrateur en tapant
sudo chntpw -u user SAM

Etape 7:
Voilà, redémarrez et entrez dans Windows.
Comment se protéger de cette attaque? Changer l’ordre de boot pour ne pas commencer par le CD et mettre un mot de passe BIOS.